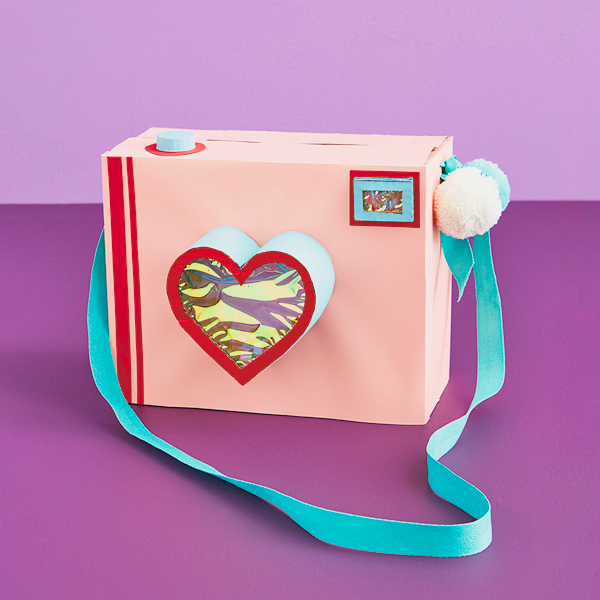
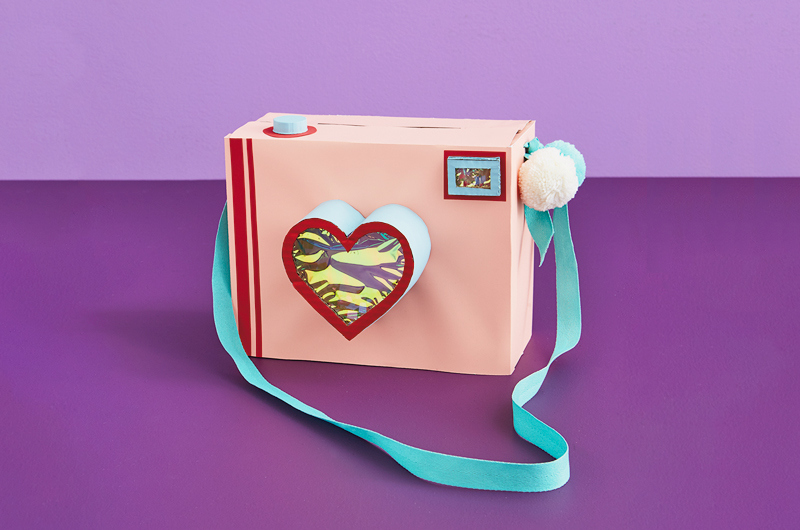
- Get the free download. Download and print the DIY Camera Valentine Box template.
- Decorate the camera body. Cut a hole large enough for valentines in the top of the box. Paint or cover the box in pink paper, leaving the mail slot open.
- Add the strap. On each side of the box, in the centre of the side and about 1/2” from the top, cut two slits the width of the ribbon you’re using for the strap. Thread one end of the ribbon through the top slit and out of the bottom slit. Fold the end of the ribbon up and hot glue it to secure in place.
- Cut out the lens. Draw a heart about half the height of your box on a piece of scratch paper. Cut it out and trace it onto 2 pieces of cardboard—1 piece of pink card stock and 1 piece of iridescent cellophane—and cut these out. You’ll also need to cut out two 1/2” pieces of card stock in another colour (we used light blue), each long enough to fit around one side of the heart.
- Build the lens. Follow the detailed instructions on the free printable to build and attach the lens to the camera body.
- Make the button. Cut a circle out of card stock that’s a little bigger than the bottle cap. Glue it to the top of the camera. Paint the bottle cap and glue it to the card stock circle.
- Make the flash. Follow the detailed instructions on the free printable to build the flash, and glue it to the camera body.
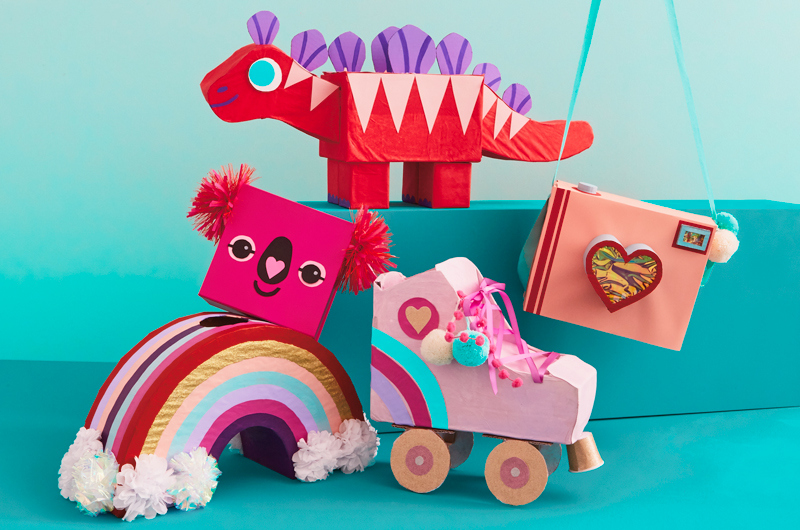
Camera ready!