Easy DIY Personalized Wreaths to Welcome Holiday Visitors

By Shanna Smith on October 19th, 2022
15891 ii 1

When holiday visitors come knocking, your front door is the first thing they see. Now, that’s not to say that all the effort you put into your elaborately decorated Christmas tree or those precisely iced sugar cookies isn’t worth it. It’s just that your front door might be missing out on some holiday fun.

Of course, the classic way to welcome holiday visitors into your home is by hanging a wreath on your front door. And we happen to think this tradition is lovely. But we also think store-bought wreaths can sometimes use a little plus-up when it comes to making them feel personal. So we’ve put together a free printable to help you make a personalized wreath for your home this holiday season.

15891 ii 1
#

How to make your personalized wreath

15891 ii 2

What you’ll need:

  • Free printable
  • Card stock
  • Colour printer
  • Scissors (or craft knife and ruler)
  • Ribbon or twine
  • Double-sided tape, super glue or hot glue
  • Wreath
  • Additional embellishments like bells, flower picks or figurines (optional)
  • Hole punch (optional)
#

Step 1: Print and cut out your banners

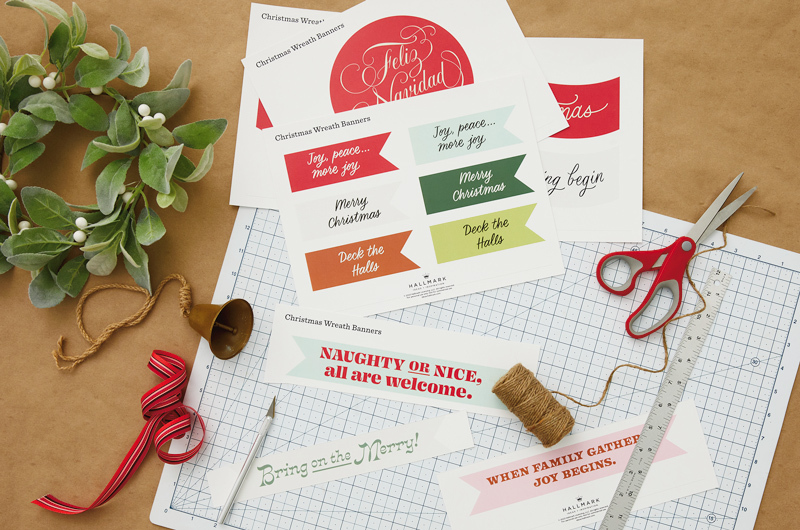
Start by printing the free printable on quality card stock. A colour printer is preferred, but you can always print in black and white and then colour it in. You can also get the kids to add their creative touch.

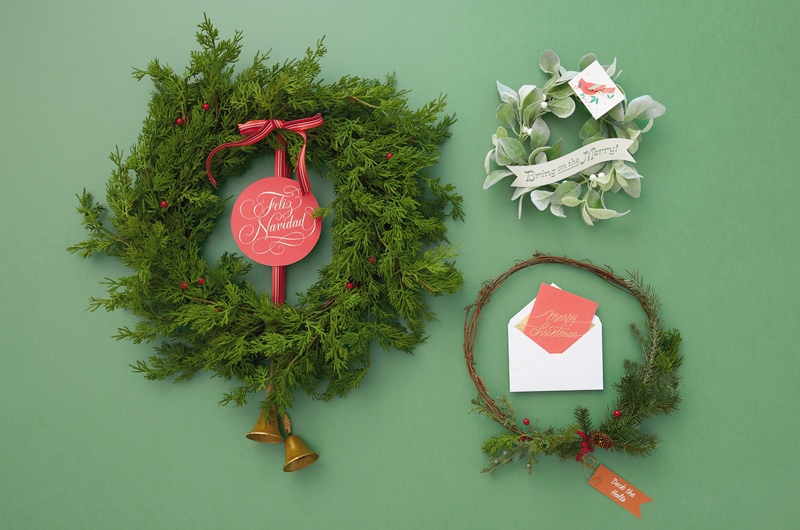
We included banners for a few different sizes of wreaths, pictured below:

  • Small (11 inches, top right)
  • Medium (14 inches, bottom right)
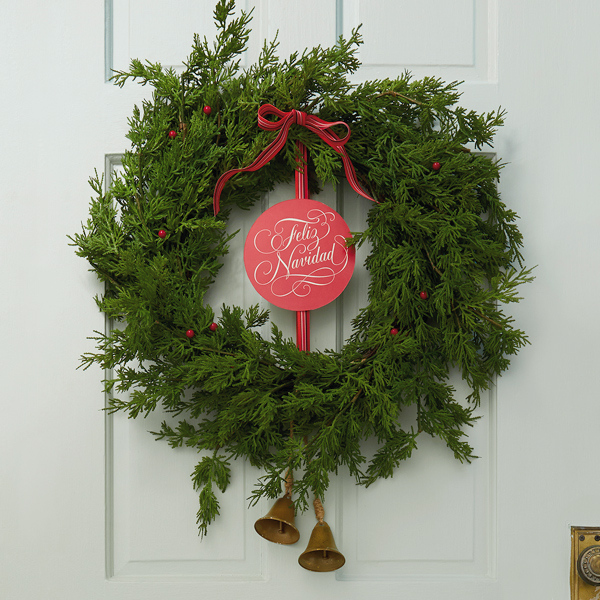
  • Large (24 inches, at left)

Next, decide which banner feels the most like your home’s holiday vibe. Are you all about the whimsy of Santa’s naughty and nice lists? Or the cozy comfort of a family Christmas gathering?

Use scissors or a craft knife and ruler to cut out the one that speaks to you, or ones, plural—you can have more than one wreath around!

Want that banner, but bigger?

If you’re loving a banner made for a smaller wreath, but you’ve got an evergreen behemoth wreath to personalize, you can still use that smaller sentiment.

Just use the scale feature in your print dialog box before printing the PDF. Be sure to test out the finished size on regular printer paper before printing on that more expensive card stock, though.

#

Step 2: Attach the banner to your wreath

15891 ii 3

You can attach the banners to your wreath in a few different ways. We like to let the kind of wreath we’re using and where it will be hung dictate the type of fastener or adhesive we use.

Double-sided tape: This works great for banners that hang in the centre of the wreath. Tie the ribbon in a cute bow at the top of the wreath and secure it at the bottom, too. Then apply double-sided tape to the front of the ribbon and press the banner firmly onto it.

Hot glue or super glue: These work especially well with artificial wreaths. Be careful not to burn your fingers or accidentally glue them together (not that we know from experience). Apply a few dabs of glue to the back of your banner. You can stick the back of your banner to a piece of ribbon, like in the option above, or glue it directly to the greenery.

Ribbon: We love this for real evergreen wreaths. Punch a small hole in your banner and thread the ribbon through it, then tie it around your wreath and let it dangle from the bottom or into the centre.

#

Step 3: Deck that door!

You could always go the route of traditional wreath hangers—there are lots of pretty designs for those these days.

But you could also go simple with some wide ribbon:

  • Measure out enough ribbon to go over the top of your door and down to about eye level, where you’ll want your wreath to hang
  • Double that amount, then cut
  • Loop the ribbon around the top of your wreath and tie the ends together in a knot
  • Hang the ribbon over the top of the door and secure the knotted end on a removable decor hook on the interior side of your door (which you could totally cover up with another wreath)

Want more homemade holiday ideas? Check it out: